“Oops!” I screamed as precious 93-octane gas gushed from the flexible neck of my SureCan tank. The spilled fuel landed on the glossy black plastic cover above the left side mirror of Water Sports Magazine’s 2021 Sea-Doo RXP-X 300, instantly staining the cover and turning it opaque in seconds.
I tried to fill the Sea-Doo while it was still running, a difficult task that would allow the engine to continue counting down its remaining five hours of runtime, and this was the middle of the RXP-X’s break-in period. While it might save me a few minutes of work, replacing the damaged parts would cost a pretty penny.
Above: Tip: Don’t spill gasoline on your Sea-Doo. Don’t spill gasoline anywhere. The soft, smooth plastic material is very sensitive and will fade and discolor in seconds.
To save precious weight, Sea-Doo uses various decorative plastic surfaces on the deck. It’s not actually painted; the glossy black plastic (like the one I broke) is molded from it. The same goes for the colored parts. It’s all done in a molding process.
While we have discussed a more thorough method for restoring severely faded and sun-damaged rough (matte or rough) plastic surfaces, restoring these glossy parts has long been a futile endeavor for most average car enthusiasts. In most cases, people decide to completely replace the damaged parts after discovering that exterior cleaners and waxes cannot restore the original shine of these panels.
Above: After trying dozens of polishing methods, various polishes and waxes, we have come to the conclusion that these two products are the most effective and indispensable tools for repairing damaged plastic surfaces. We mean it.
I feel the same way. I have had cars that have had parts damaged by fuel spills, too much sunscreen, water, and regular UV rays, and no amount of spray cleaner, soap, detergent, wax, or polish could fix it. Several different automotive grade abrasives were too harsh on the soft surface, leaving noticeable scratches that were difficult to remove.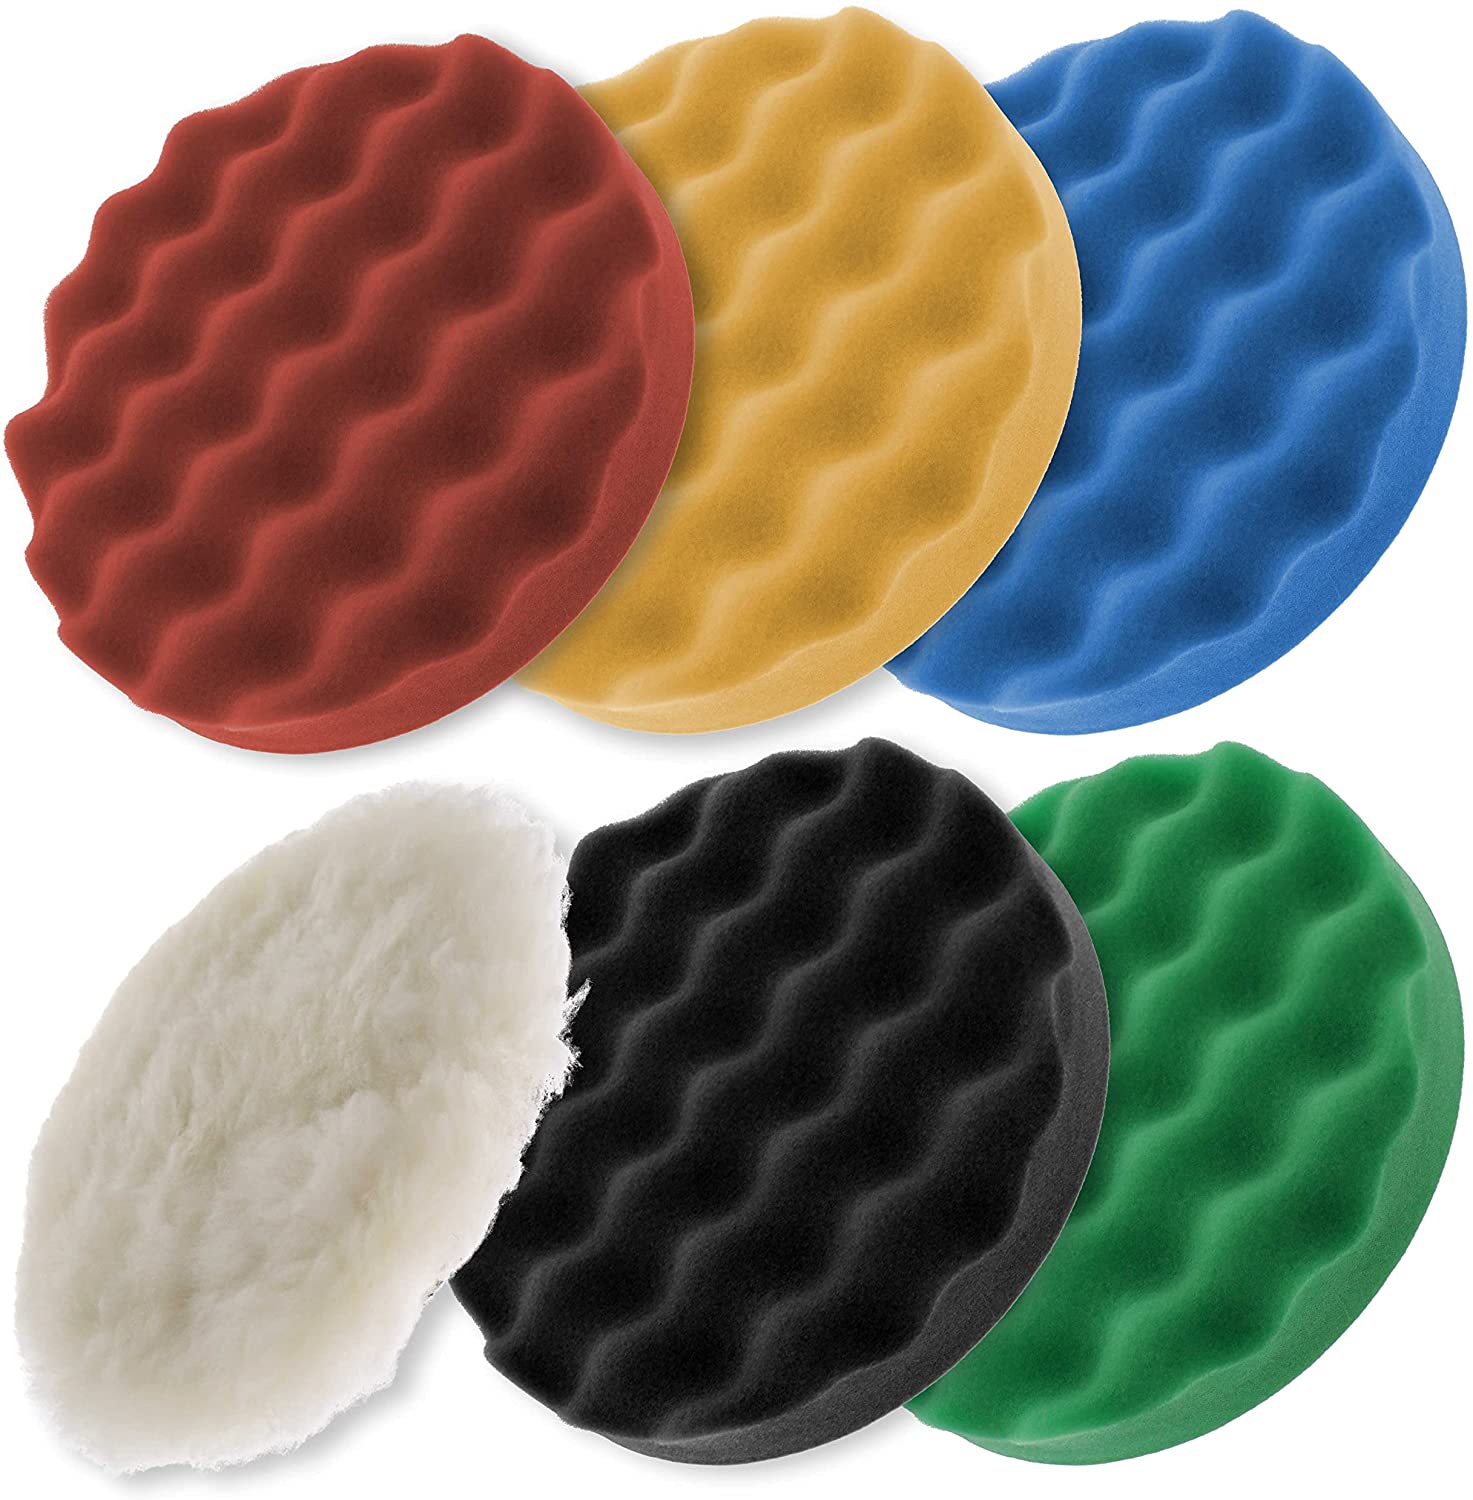
So I did the same thing again to the gasoline-bleached rearview mirror housing, but to no avail. Nothing from XPS could repair the damage. No amount of boat cleaner or any of the many car waxes in my collection could fix it. This thing was definitely screwed.
Above: The blue foam pad won’t scratch the surface like the harder red pad. Power Cut Compound Professional Abrasive is also a softer abrasive designed specifically for gelcoats and fiberglass that won’t burn through plastic as quickly as abrasives designed for paint.
In desperation, I ordered a matching mirror cover from the RIVA Racing OEM catalog (PT# 269502427LH) and began researching how to properly replace it. I was shocked to learn that Sea-Doo had to remove most of the top deck to get to that single retaining screw; not wanting to remove that much from a brand new RXP-X, I wondered if there was a way to fix this problem.
First, I used plastic polish. You know, the kind used to repair headlights. While not as sharp, it opens the door to other cutting materials. I used Meguiar’s One-Step Cutting Compound to remove some serious shipping scratches from a purple acrylic car cover. Unfortunately, it was too rough again.
Above: After buffing the Power Cut compound at high speed with a wool pad, you might think the job is done, but it’s not! There’s one more step left.
I do, however, have a bottle of Micron’s Marine/RV Power Cutting Compound ($22.99) that I’ve barely used. The hand-held approach seemed promising, so I pulled out a Ryobi two-speed drill and a soft blue sponge. (The color of the paint and polish matters. Blue is one of the least aggressive colors. Red is one of the most aggressive. We’ll go with blue this time.)
Using a quarter-sized amount of polishing compound and setting the drill to the lowest speed, I easily coated the mirror cover, breaking up and lifting the damaged coating, leaving a clean, smooth surface. To keep the polishing compound from drying out, we used a soft yellow wool buffing wheel and set the drill to the highest speed. We didn’t apply any pressure and let the wheel do the polishing.
Above: After cleaning the blue applicator (or using a different applicator), apply Scratch-X 2.0 to the plastic surface, massaging it thoroughly at low speed first, then switching to full speed for a few seconds. Do not force! Let the applicator do all the work! Then simply wipe it off with a microfiber cloth.
Within seconds, it was shining again. At this point, a replacement cap arrived and I used it to compare the effects. By this time, I was getting pretty close. It’s not perfect, but it’s close. At this point, I went back to my collection and pulled out a bottle of Micron Scratch-X 2.0 ($9.99). It’s more of a derotating agent, containing just enough particles to break up the porous surface I’d created with a powerful cutting agent.
Likewise, Scratch-X 2.0 also includes a very thin protective polymer layer, which worked very well when I used it with a drill in combination with a foam applicator (which I cleaned after the first use). Since I wanted to repeat the process, I went back to the wool disc and quickly unraveled the last step of the process.
Above: Want to see how much better this is than the original? Notice the clarity of the reflections on the back panel compared to the original replacement (in the foreground) we ordered from RIVA Racing. Our remanufactured panels are darker in color and have clearer reflections than the originals.
Yes, the wool pad had dulled the plastic and left some serious scratches. So I wiped the plastic cover with XPS Multi-Purpose Cleaner and repeated the first three steps, this time choosing to wipe the plastic with a clean microfiber towel instead of the wool pad. Lo and behold! The plastic cover is shiny again!
To test the results, I compared it to a similar panel from RIVA – mine is better! I used an old mechanic’s trick and got out a 500 lumen Mycanic LED bulb and shone it on both panels: the reflection of the light from the bulb on the rear view mirror was much clearer and more detailed than from the original replacement panels.
Above: Dare you look at this mirror image?! Come on, it’s impressive and anyone can do it. Heck, don’t wait until you ruin your plastic like we did, just follow these instructions on your Sea-Doo and watch it sparkle in the sun!
Again, folks, I’ve tried dozens of different polishes, compounds, wax combinations, and different polishing methods, and this one works the best. See the photos above and the video below. I’m talking about the mirror effect. It’s unlikely that Sea-Doo will switch to a more durable plastic anytime soon, so the more cautious of us will have to find the best ways to keep our skis in tip-top condition.
In the video I joke that the wool pads will leave marks on your Sea-Doo, and that’s not an exaggeration. I found some in a glove box that hadn’t been opened during cleaning. Other than that, there are few complaints, and you won’t have any if you follow these steps.
Just wanted to warn anyone looking for Scratch X2.0. This is a “unicorn” product. No, it is a scratch and stain remover. The current product is SCRATCH X #G10307 7 oz. I understand some online sellers are using old illustrations to show the 2.0 version. Today, ScratchX should be able to replicate the same amazing effects that Kevin discovered and demonstrated.
Post time: Apr-15-2025